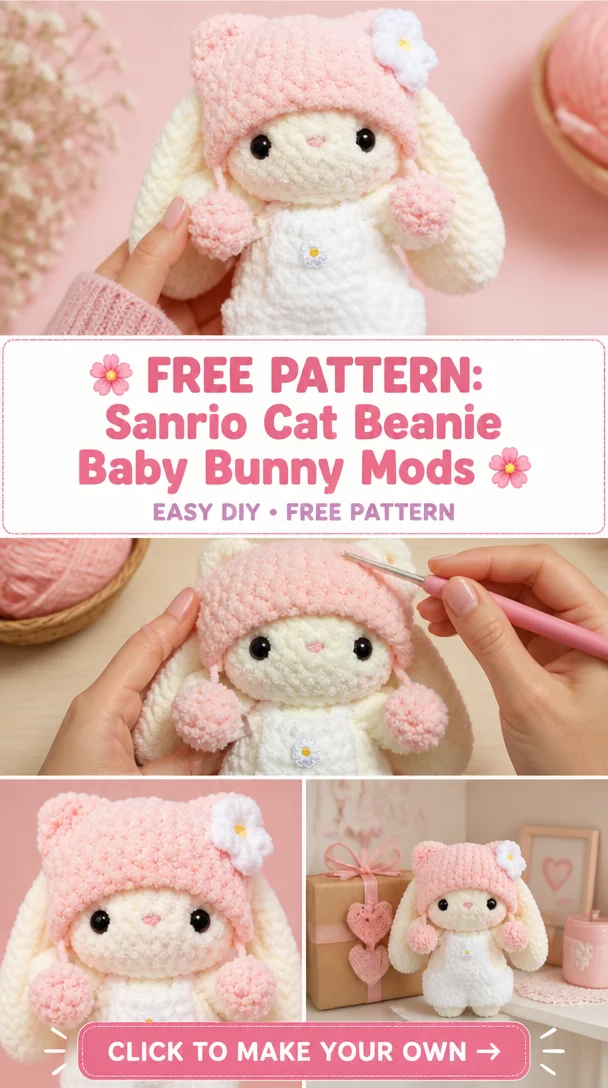
Crocheted Hello Kitty Dolls with Pumpkins and Jack-o’-lanterns | Halloween hello kitty crochet, Crochet hello kitty plushies, Kawaii crochet
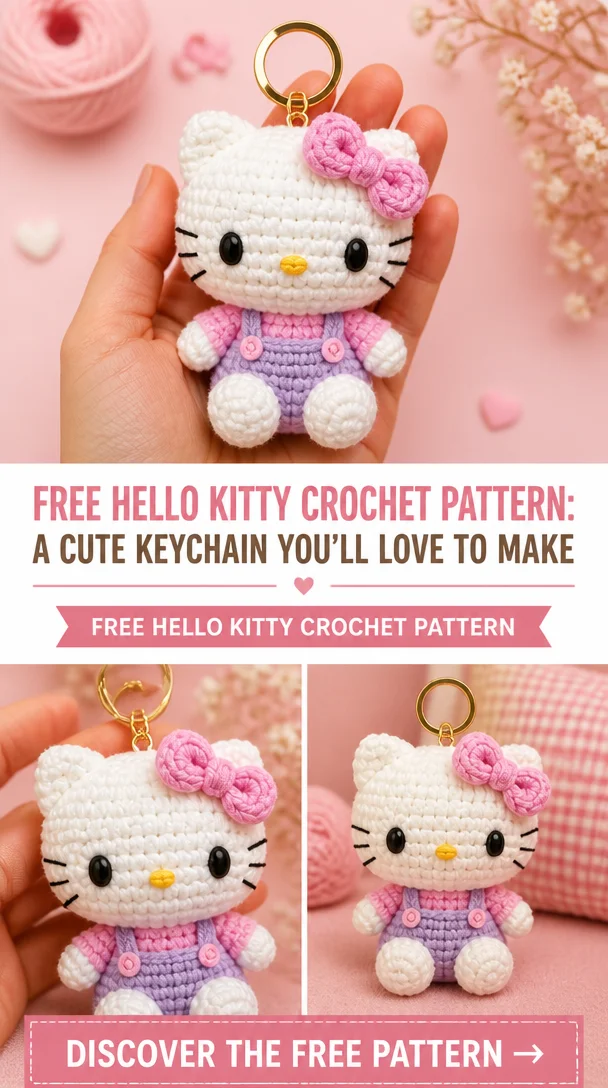
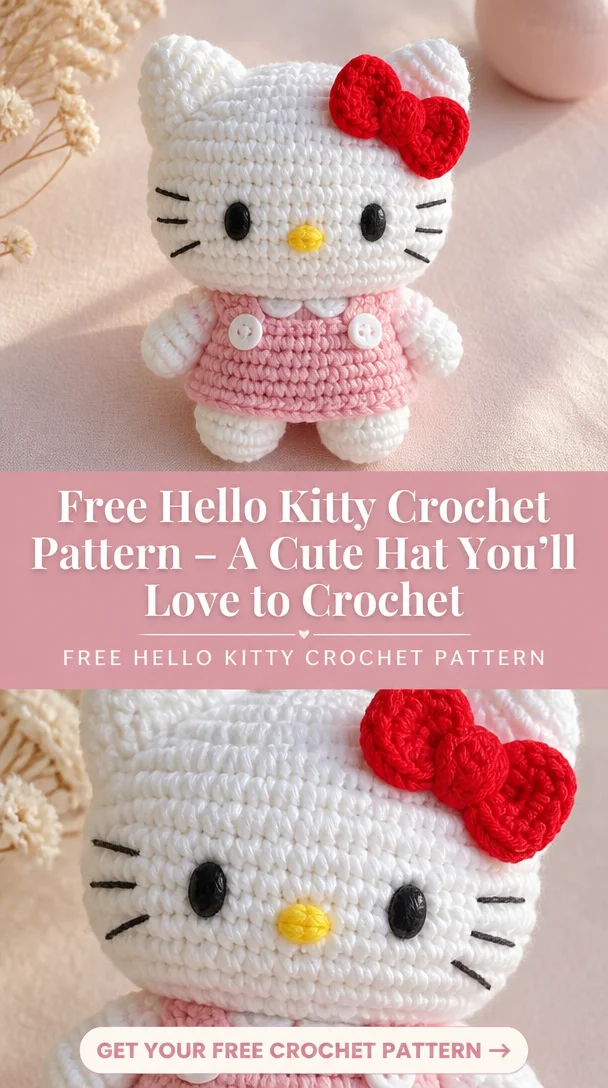
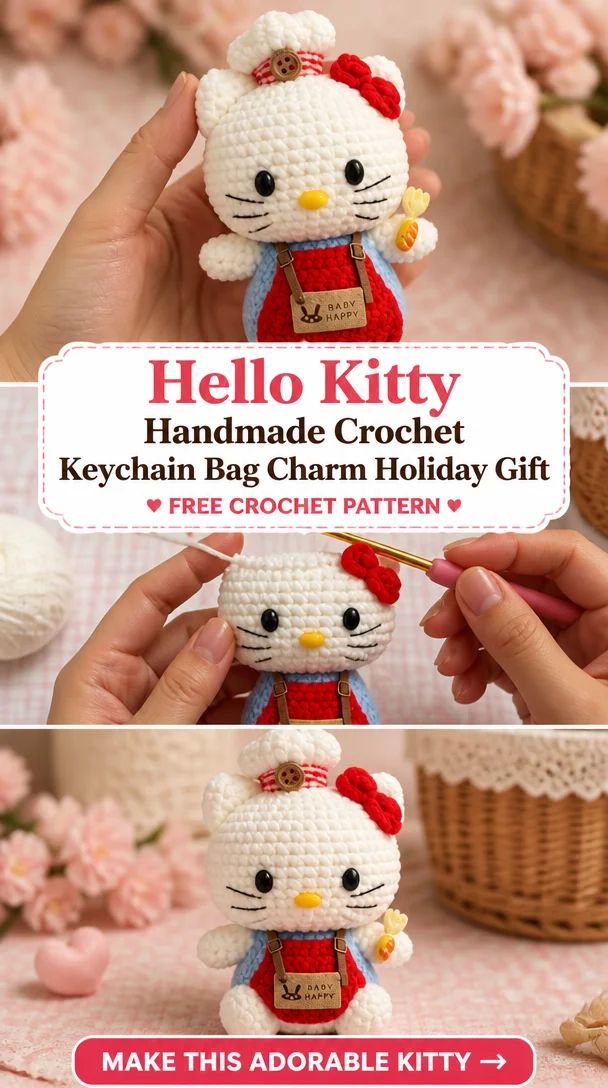
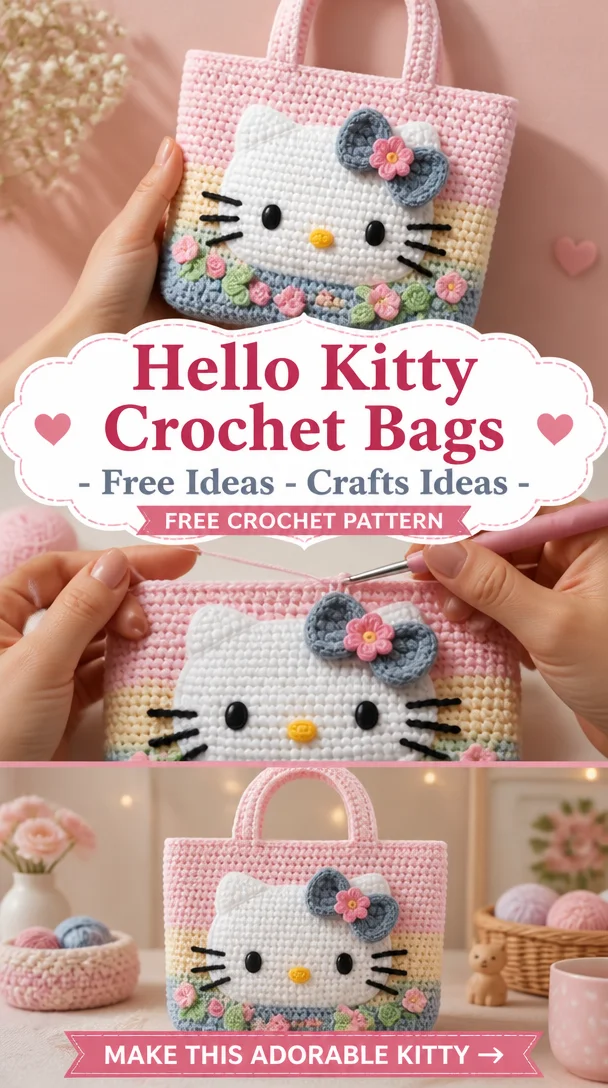
Welcome to the delightful world of crocheted Hello Kitty dolls dressed up with pumpkins and jack-o’-lanterns! This charming Halloween-themed project combines the timeless appeal of Hello Kitty with the whimsical spirit of the fall season. Perfect as decorations, gifts, or unique collectibles, these adorable plushies are sure to light up any space. Whether you’re a seasoned crocheter or a beginner looking for a cute project, this pattern can spark your creativity and bring a smile. With their sweet designs and playful elements, crocheted Hello Kitty dolls make for enchanting additions to any crochet lover’s collection, especially during Halloween!
Hello Kitty Crochet Pattern Overview
- Skill Level: Intermediate
- Finished Size: Approximately 7 inches tall (depending on yarn used)
- Crochet Hook Size: 3.5mm (E)
- Yarn Type: 100% acrylic
- Yarn Weight: Medium (worsted weight)
- Main Colors: White, black, pink (for bow), orange (for pumpkin)
- Construction Method: Worked in rounds with assembly required
- Approximate Completion Time: 4-6 hours
- Beginner-Friendly: Some experience recommended
- Worked In: Continuous rounds for body; flat pieces for accessories
- Type of Finished Item: Plushie doll featuring Halloween motifs
Materials You’ll Need
- 1 skein white yarn (for body)
- 1 skein orange yarn (for pumpkin)
- 1 skein black yarn (for facial details)
- 1 skein pink yarn (for bow)
- 3.5mm crochet hook
- Yarn needle
- Stitch markers (optional)
- Scissors
- Stuffing (polyester fiberfill)
- Safety eyes (optional)
- Embroidery thread (for facial details)
Crochet Abbreviations
- MR = magic ring
- ch = chain
- sc = single crochet
- hdc = half double crochet
- dc = double crochet
- sl st = slip stitch
- inc = increase
- dec = decrease
- st = stitch
- rep = repeat
Before You Start
Before diving into your Hello Kitty crochet project, it’s essential to prepare and plan your approach:
- Working in Continuous Rounds: Start by making a magic ring for a seamless finish.
- Use a Stitch Marker: Place a stitch marker to keep track of your rounds.
- Even Tension: Maintain consistent tension to ensure neat stitches and an even shape.
- Separate Pieces Preparation: Plan ahead for separate components like the head, body, and accessories.
- Assembling Pieces: Familiarize yourself with the assembly instructions to make the process smoother.
Free Hello Kitty Crochet Pattern
Foundation or Magic Ring
Start with a magic ring to form your base.
Head
- Round 1: 6 sc in MR.
- Round 2: Inc in each st around (12).
- Round 3: (Sc in next st, inc) rep around (18).
- Round 4: (Sc in next 2 st, inc) rep around (24).
- Rounds 5-10: Sc in each st around (24).
- Round 11: (Sc in next 2 st, dec) rep around (18).
- Round 12: (Sc in next st, dec) rep around (12).
- Add safety eyes and stuffing.
- Round 13: Dec around (6). Fasten off and weave in ends.
Body
- Round 1: 6 sc in MR.
- Round 2: Inc in each st around (12).
- Round 3: (Sc in next st, inc) rep around (18).
- Rounds 4-8: Sc in each st around (18).
- Round 9: (Sc in next st, dec) rep around (12).
- Round 10: Dec around (6). Fasten off, leave a long tail for sewing.
Ears (Make 2)
- Round 1: 4 sc in MR.
- Round 2: Inc in each st around (8).
- Rounds 3-4: Sc in each st around (8).
- Fasten off and leave a long tail for sewing.
Arms (Make 2)
- Round 1: 6 sc in MR.
- Round 2: Inc in each st around (12).
- Rounds 3-5: Sc in each st around (12).
- Fasten off and leave a long tail for sewing.
Legs (Make 2)
- Round 1: 6 sc in MR.
- Round 2: Inc in each st around (12).
- Rounds 3-5: Sc in each st around (12).
- Fasten off and leave a long tail for sewing.
Facial Details
- Eyes: Use safety eyes or embroider using black thread.
- Nose: Use black yarn or embroidery thread for a small nose.
- Whiskers: Embroider three whiskers on each side.
Bow
- Chain 12.
- Row 1: Sc in second ch from hook and across (11).
- Fold the bow and stitch the center with pink yarn.
Assembly
- Attach the head to the body and sew securely.
- Position and sew on the arms and legs.
- Secure the ears on top of the head.
- Sew on facial features and the bow.
How to Use Your Hello Kitty Crochet Project
These adorable crocheted Hello Kitty dolls can serve multiple purposes, from being charming decorations to delightful gifts. They can adorn your Halloween setup, serve as conversation starters, and bring a festive touch to your home. Additionally, they can be lovable companions or unique collectibles for any Hello Kitty fan.
Tips for a Better Result
- Maintain even tension throughout to keep your stitches uniform.
- Check that the stuffing remains even inside the plushie without visible lumps.
- When attaching facial features, keep them symmetrical for a cute appearance.
- Secure all yarn ends properly to avoid unraveling.
Customization Ideas
Feel free to customize your Hello Kitty dolls! Consider using different colors for the pumpkins or experimenting with various yarn textures. You might create themed bows or outfits to personalize your plushies further.
Common Problems and Troubleshooting
- Uneven Stitch Counts: Double-check your stitches at the end of each round.
- Loose Stitches: Ensure you’re maintaining consistent tension.
- Misaligned Pieces: Position pieces before sewing to confirm placements.
Care and Safety
For maintaining your crochet project, consider gentle hand washing and laying it flat to dry. Ensure you supervise children around the plush toys, especially if you’ve added small emotional elements or safety eyes.
Frequently Asked Questions
- Is this Hello Kitty crochet pattern beginner-friendly? No, some prior crochet experience is recommended due to the assembly involved.
- What yarn is best for this crochet project? Medium-weight acrylic yarn is preferred for crafting durable plushies.
- How long does it take to crochet this design? It typically takes 4-6 hours.
- Can I make this crochet project larger or smaller? Yes, by adjusting the hook size and yarn weight.
- How do I attach the bow? Use a yarn needle to sew it onto the head securely.
- Can I use different yarn colors? Absolutely! Customizing colors can create unique looks for your dolls.
- How do I keep the finished crochet doll in shape? Proper stuffing and even tension will help maintain its shape.
Conclusion
We hope you enjoy making these delightful crocheted Hello Kitty dolls with pumpkins and jack-o’-lanterns. With their enchanting designs and vibrant colors, they are sure to bring joy, whether as gifts or fall decor. Let your creativity shine as you create adorable additions to your crochet repertoire!
SEO Title: Adorable Hello Kitty Crochet Dolls for Halloween
Meta Description: Discover a cute Hello Kitty crochet pattern featuring pumpkins! Perfect for Halloween decorations or gifts. Get started on your adorable plushie today!
URL Slug: hello-kitty-crochet-dolls-halloween
Primary Keyword: Hello Kitty crochet pattern
Secondary Keywords: free Hello Kitty crochet pattern, Hello Kitty amigurumi, crochet gift ideas, kawaii crochet project, Hello Kitty crochet plushie
Image 1 Alt Text: Crocheted Hello Kitty doll with pumpkin for Halloween decoration
Image 2 Alt Text: Close-up of Hello Kitty plushie with jack-o’-lantern features