Christmas Crochet Patterns for Beginners: A Step-by-Step Guide to Crocheting Festive Ornaments, Christmas Trees, Stockings, Snowflakes, and Handmade
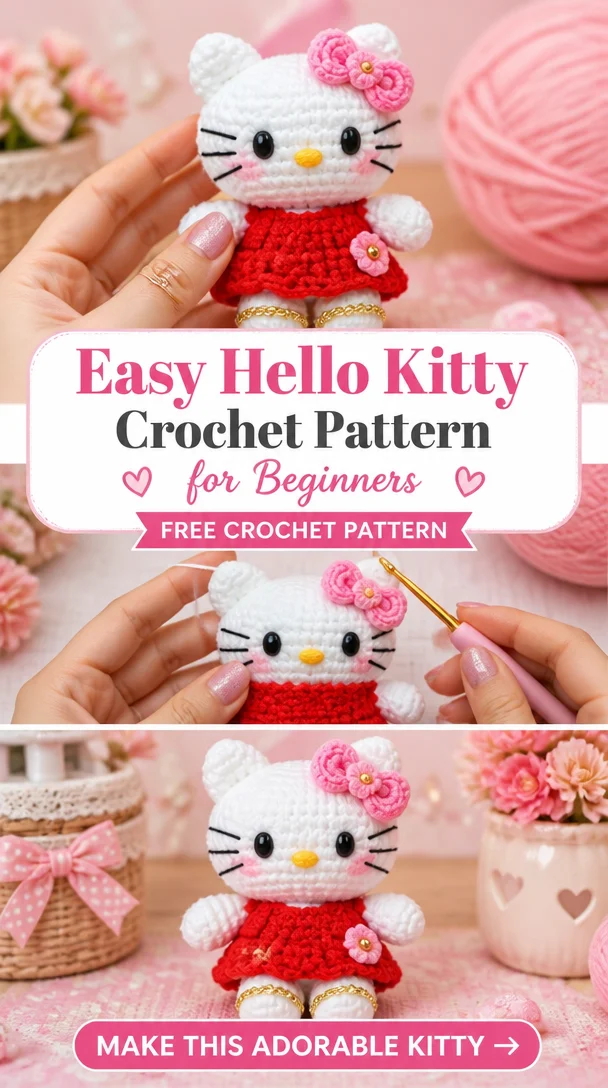
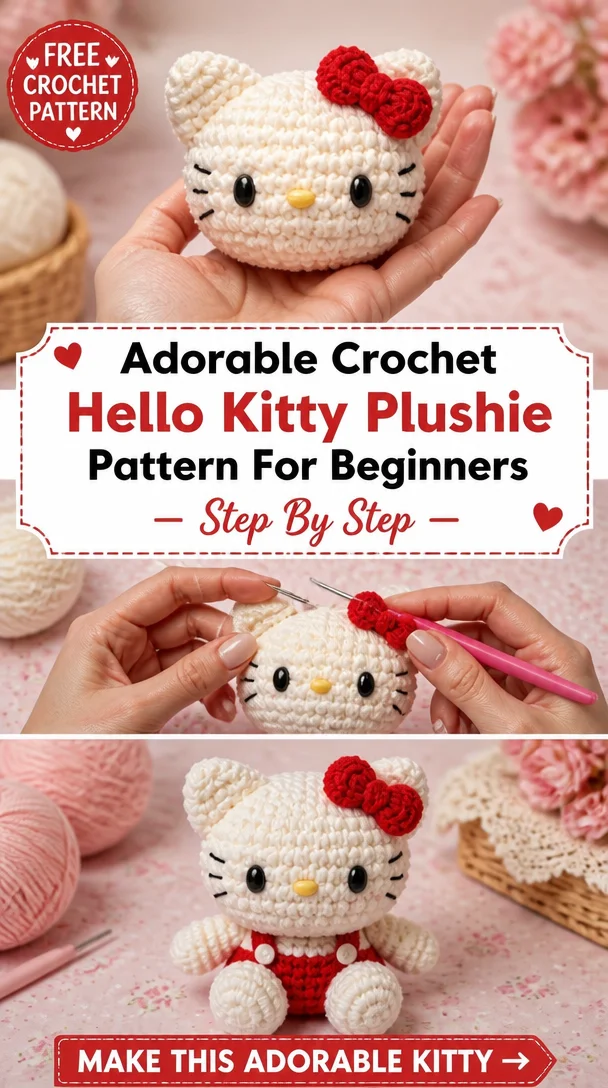
Crocheting a Hello Kitty project during the holiday season is a delightful way to express your creativity while embracing the charm of this beloved character. With its oversized head, signature bow, and adorable features, this Hello Kitty design captures the essence of kawaii culture, making it a fun project for both seasoned crafters and beginners. Not only can you create a unique piece for your home, but it also serves as a wonderful gift or collectible for fans of all ages. Whether as a decoration, keychain, or plushie, this pattern offers endless possibilities—perfect for those who want to add a touch of festive spirit to their crochet repertoire.
Hello Kitty Crochet Pattern Overview
- Skill Level: Beginner-friendly
- Finished Size: Approximately 6 inches tall
- Crochet Hook Size: G/4.0 mm
- Yarn Type: Acrylic yarn
- Yarn Weight: Worsted weight (Medium)
- Main Colors: White for the body; pink for the bow and accents
- Construction Method: Worked in rounds
- Approximate Completion Time: 4-6 hours
- Project Type: Amigurumi doll
Materials You’ll Need
- Worsted weight acrylic yarn in white, pink, and black
- G/4.0 mm crochet hook
- Yarn needle
- Stitch markers
- Scissors
- Safety eyes (12 mm)
- Fiberfill stuffing
- Embroidery thread (optional for whiskers)
Crochet Abbreviations
- MR = magic ring
- ch = chain
- sc = single crochet
- inc = increase
- dec = decrease
- st = stitch
- rep = repeat
Before You Start
- Working in Continuous Rounds: Use a stitch marker to keep track of the beginning of each round.
- Maintaining Even Tension: Keep your yarn tension consistent for a smooth finish.
- Stuffing Pieces: Add fiberfill as you work, ensuring the figure takes shape.
- Color Changes: Plan your color transitions carefully to keep lines clean.
- Assembly Preparation: Be ready to join multiple pieces at the end for a cohesive look.
Free Hello Kitty Crochet Pattern
Foundation or Magic Ring
- Round 1: Make a magic ring and crochet 6 sc into the ring. (6)
- Round 2: Inc in each st around. (12)
- Round 3: Sc in next st, inc repeat around. (18)
Head
- Rounds 4-6: Sc in each st around. (18)
- Round 7: Sc in next 2 sts, inc repeat around. (24)
- Rounds 8-10: Sc in each st around. (24)
Body
- Round 11: Sc in next 3 sts, inc repeat around. (30)
- Rounds 12-14: Sc in each st around. (30)
Ears (Make 2)
- Start from magic ring: Make 6 sc in a magic ring, inc in next round. (12)
- Sc in next 2 rounds. (12)
Arms (Make 2)
- Start from magic ring: Make 5 sc in a magic ring, switch to sc. (5)
- Sc in next 5 rounds. (5)
Legs (Make 2)
- Start from magic ring: Make 6 sc in a magic ring, inc in next rounds. (12)
- Sc in next 6 rounds. (12)
Facial Details
- Eyes: Attach safety eyes between rounds 7 and 8.
- Whiskers: Use black embroidery thread to create whiskers.
Bow
- With pink yarn: Make a 15-chain foundation.
- Row 1: Sc in each st across, chain to tie in the middle.
Stuffing and Shaping
- Stuff all parts as you go, ensuring they are firm but not over-stuffed.
Joining the Pieces
- Sew the head to the body, and attach the arms and legs securely.
Finishing Details
- Weave in all yarn ends, ensuring everything is tucked and neat.
How to Use Your Hello Kitty Crochet Project
Your Hello Kitty crochet doll can be displayed as a charming decoration, used as a keychain accessory, or gifted to a loved one. It’s a perfect addition to holiday décor or a unique collectible for fans of the character.
Tips for a Better Result
- Keep your stitches tight to avoid gaps.
- Position the safety eyes symmetrically for visual harmony.
- Secure all pieces well to withstand handling.
Customization Ideas
- Experiment with different yarn colors for various outfits.
- Create themed outfits by changing the bow or adding accessories.
- Use different textures of yarn for a unique look.
Common Problems and Troubleshooting
- If your stitches are uneven, try adjusting your tension.
- For loose parts, reinforce your joins with additional stitches.
- If the facial features look crooked, reposition them while assembling.
Care and Safety
Follow the yarn manufacturer’s instructions for cleaning. Be cautious with small detachable parts and ensure they’re securely attached to prevent choking hazards.
Frequently Asked Questions
-
Is this Hello Kitty crochet pattern beginner-friendly?
Yes, it is designed for those new to crochet. -
What yarn is best for this crochet project?
Worsted weight acrylic yarn works best for durability. -
How long does it take to crochet this design?
Approximately 4-6 hours for a beginner. -
Can I make this crochet project larger or smaller?
Yes, adjusting the hook size or yarn weight can change the dimensions. -
How do I attach the bow?
Sew it securely on top of the head with a few stitches. -
Can I use different yarn colors?
Absolutely! Feel free to express your style. -
How do I keep the finished crochet doll in shape?
Ensure proper stuffing and reinforce joins for stability.
Conclusion
Crocheting this Hello Kitty piece not only adds a personal touch to your holiday celebrations but also creates a special handmade gift that will be cherished. So grab your yarn and hook, and let your crochet journey bring some festive cheer!
SEO Title: Hello Kitty Christmas Crochet Pattern – Festive Amigurumi
Meta Description: Discover this beginner-friendly Hello Kitty crochet pattern and learn how to create festive ornaments perfect for the holidays!
URL Slug: hello-kitty-christmas-crochet-pattern
Primary Keyword: Hello Kitty crochet pattern
Secondary Keywords: free Hello Kitty crochet pattern, Hello Kitty amigurumi, cute crochet project, handmade crochet doll
Image 1 Alt Text: Adorable Hello Kitty crochet doll in festive colors
Image 2 Alt Text: Cozy Hello Kitty amigurumi with a pink bow and smiling face