Hello Kitty Crochet Pattern
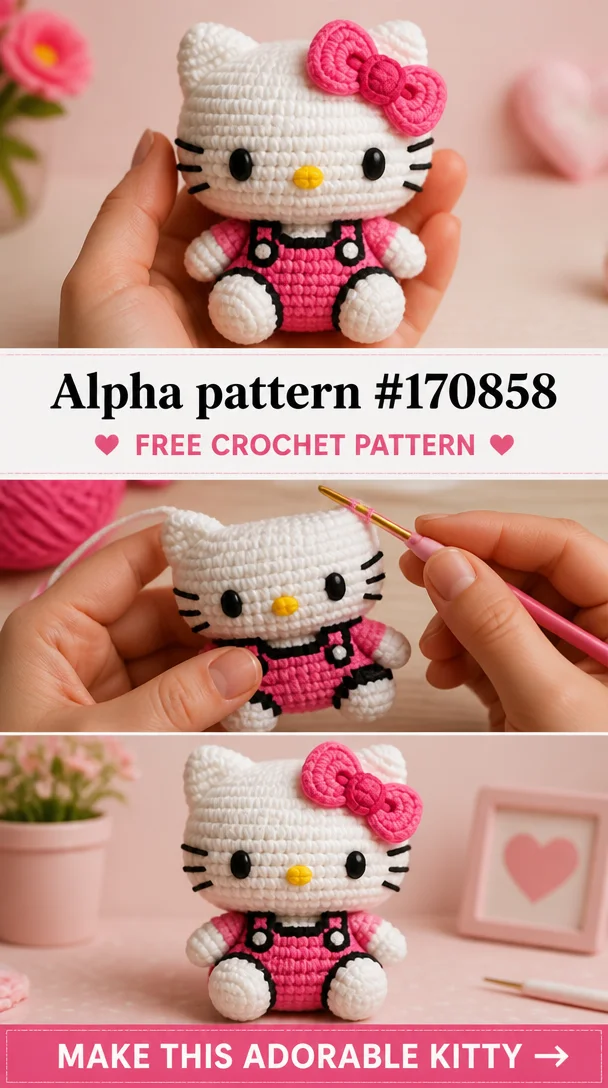
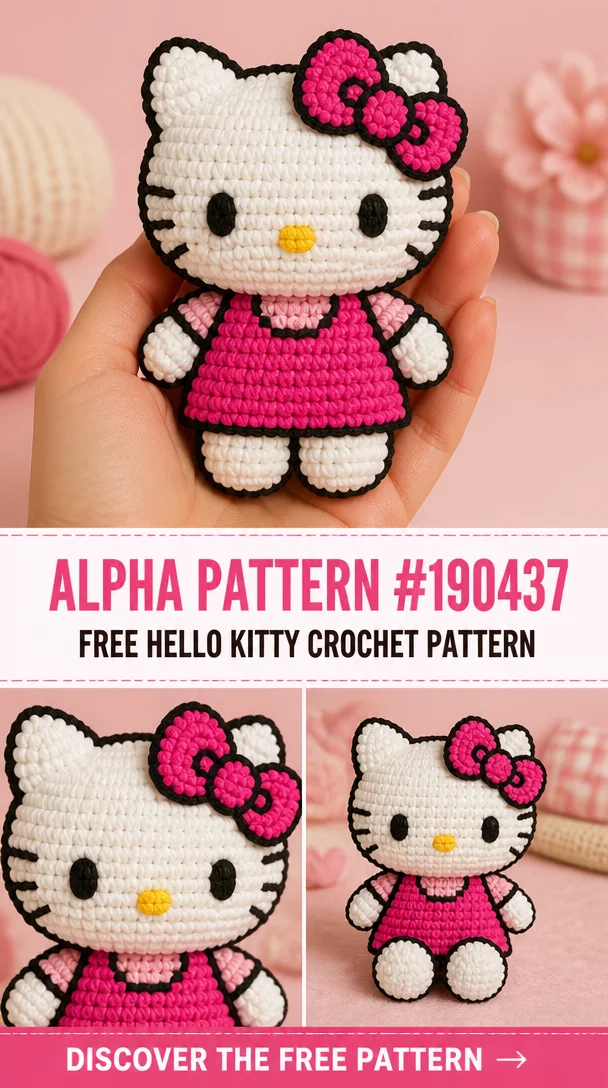
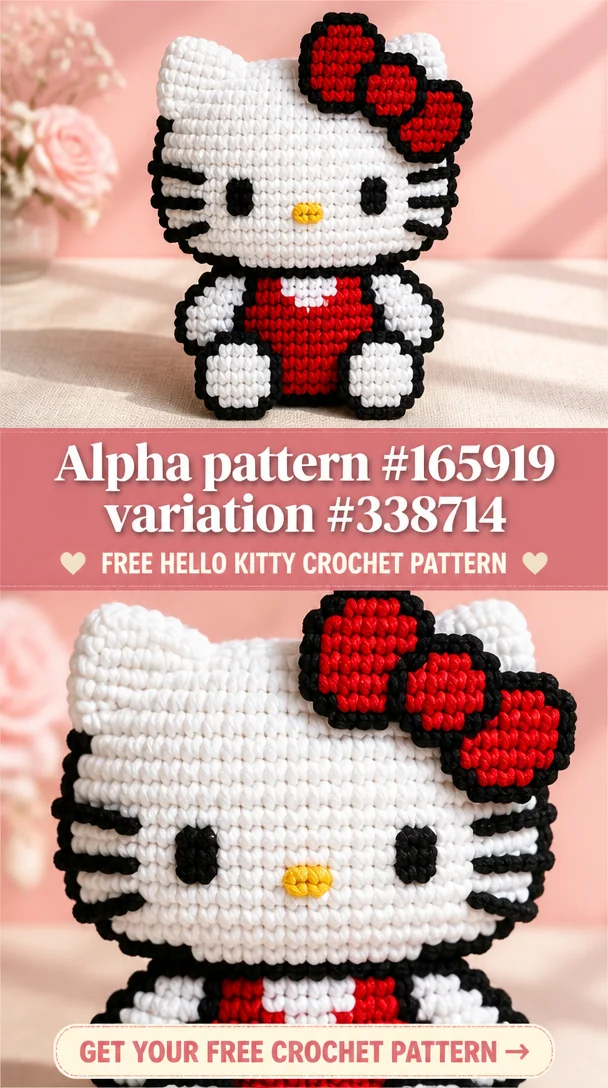
Welcome to the adorable world of Hello Kitty crochet! This delightful crochet project allows you to create your very own Hello Kitty figure, embodying the charm and cuteness of the beloved Sanrio character. Crafted with vibrant yarns and a sprinkle of creativity, this Hello Kitty amigurumi is perfect for anyone looking to brighten their day with a handmade treasure. Ideal as a decoration, collectible, or a heartfelt gift, this crochet design appeals to crafters of all skill levels, from beginners to seasoned pros. With its playful charm and iconic features, this Hello Kitty creation will surely enchant anyone who encounters it.
Hello Kitty Crochet Pattern Overview
- Skill Level: Beginner-friendly
- Finished Size: Approximately 6 inches tall
- Crochet Hook Size: 3.5 mm (E)
- Yarn Type: Worsted weight, 100% acrylic
- Yarn Weight: Medium (4)
- Main Colors: White, pink, yellow, black
- Construction Method: Worked in rounds
- Approximate Completion Time: 5-8 hours
- Type of Finished Item: Amigurumi doll
Materials You’ll Need
- Worsted weight yarn in:
- White
- Pink
- Yellow
- Black
- 3.5 mm crochet hook
- Yarn needle
- Stitch markers
- Scissors
- Stuffing
- Safety eyes (optional)
- Decorative bow materials
Crochet Abbreviations
- MR = magic ring
- ch = chain
- sc = single crochet
- inc = increase
- dec = decrease
- st = stitch
- rep = repeat
Before You Start
Before diving into your Hello Kitty crochet project, it’s essential to get familiar with working in continuous rounds. A stitch marker can help keep track of your rounds and ensure an even structure. Pay attention to your yarn tension for a neat finish, and be ready for some color changes to capture Hello Kitty’s signature look. Prepare for separate pieces that will later be assembled into a charming figure.
Free Hello Kitty Crochet Pattern
Head
Round 1: MR, 6 sc in the ring.
Round 2: inc in each st around (12).
Round 3: (sc in next st, inc) around (18).
Round 4: (sc in next 2 st, inc) around (24).
Round 5-8: sc in each st around (24).
Round 9: (sc in next 2 st, dec) around (18).
Round 10: (sc in next st, dec) around (12).
Round 11: dec around (6). Fasten off and leave a long tail for sewing.
Body
Round 1: MR, 6 sc in the ring.
Round 2: inc in each st around (12).
Round 3: (sc in next st, inc) around (18).
Round 4: (sc in next 2 st, inc) around (24).
Round 5-8: sc in each st around (24).
Round 9: (sc in next 2 st, dec) around (18).
Round 10: (sc in next st, dec) around (12).
Round 11: dec around (6). Fasten off and leave a long tail for sewing.
Ears (Make 2)
Round 1: MR, 6 sc in the ring.
Round 2: inc in each st around (12).
Round 3: (sc in next st, inc) around (18). Fasten off, leaving a long tail for sewing.
Arms (Make 2)
Round 1: MR, 6 sc in the ring.
Round 2: inc in each st around (12).
Round 3: (sc in next st, dec) around (8). Fasten off, leaving a long tail for sewing.
Legs (Make 2)
Round 1: MR, 6 sc in the ring.
Round 2: inc in each st around (12).
Round 3-4: sc in each st around (12).
Round 5: (sc in next st, dec) around (8). Fasten off.
Bow
Round 1: Ch 10, sc in 2nd ch from hook. Work 8 sc across. Ch 1, turn.
Row 1: sc across. Fasten off, and leave a long tail for sewing.
Construction and Assembly
- Stuff the head and body firmly, ensuring they maintain their shape.
- Attach the head to the body using the yarn tail, securing it tightly.
- Position the ears on top of the head and sew in place.
- Attach the arms to the sides of the body, ensuring they are aligned.
- Sew the legs to the bottom of the body, adjusting for balance.
- Position the bow on top of the head and sew securely.
Facial Features and Decorative Details
- Attach safety eyes and ensure proper spacing.
- Embroider the nose with yellow yarn, centered below the eyes.
- Add whiskers with black yarn, positioning them symmetrically.
- Position and secure the bow on top of the head, ensuring it’s centered and pronounced.
How to Use Your Hello Kitty Crochet Project
This charming Hello Kitty project makes for a delightful decoration in any room, an adorable collectible for fans, or a sweet accessory like a keychain. Gift it to a loved one, or keep it as a personal treasure to bring a sense of kawaii joy to your space.
Tips for a Better Result
- Maintain consistent tension to create evenly stitched rows.
- Stuff the figure adequately, but not overstuffed to preserve softness.
- Use a contrasting color for the bow to make it pop against the head.
- Align all facial features carefully to enhance the character’s charm.
Customization Ideas
Consider altering the color scheme to match seasonal themes or personal styles by using different yarn shades. Add embellishments such as tiny crochet flowers or mini bows. You could also vary the size by adjusting the yarn weight and hook size for a large plushie or a tiny keychain.
Common Problems and Troubleshooting
- If stitches appear too loose, adjust your tension as you work.
- For misaligned features, carefully remove and re-sew as necessary.
- Ensure stuffing is distributed evenly to avoid lumps or uneven shapes.
Care and Safety
Refer to yarn manufacturer instructions for cleaning, as care may vary widely with different materials. Be cautious with small parts such as safety eyes and bows, which could pose a choking hazard if detached.
Frequently Asked Questions
-
Is this Hello Kitty crochet pattern beginner-friendly?
Yes! The pattern is designed with beginners in mind and includes simple, clear instructions. -
What yarn is best for this crochet project?
Medium weight (4) acrylic yarn works perfectly for creating a sturdy and colorful figure. -
How long does it take to crochet this design?
On average, you can complete the project in about 5-8 hours, depending on your experience and speed. -
Can I make this crochet project larger or smaller?
Yes, by adjusting the yarn weight and hook size, you can easily customize the size to your preference. -
How do I attach the bow?
Simply position the bow atop the head and sew it securely, ensuring it sits prominently. -
Can I use different yarn colors?
Absolutely! Feel free to experiment with any combination of colors to personalize your Hello Kitty. -
How do I keep the finished crochet doll in shape?
Ensure proper stuffing and store in a cool, dry place to maintain its shape over time.
Conclusion
Creating your own Hello Kitty crochet doll is not just a crafting project; it’s a chance to capture the whimsical spirit of a beloved character. With its cute features and endless customization possibilities, this Hello Kitty design is sure to charm crafters and fans alike. Grab your materials and start crocheting this kawaii masterpiece today!
SEO Title: Adorable Hello Kitty Crochet Pattern – Free Amigurumi Guide
Meta Description: Create your own Hello Kitty crochet doll with this free, beginner-friendly amigurumi pattern! Perfect for gifts, collectibles, or stylish decor.
URL Slug: hello-kitty-crochet-pattern
Primary Keyword: Hello Kitty crochet pattern
Secondary Keywords: free Hello Kitty crochet pattern, Hello Kitty amigurumi, cute crochet project, handmade crochet doll, crochet gift ideas
Image 1 Alt Text: Handmade Hello Kitty crochet doll in vibrant colors.
Image 2 Alt Text: Close-up of the Hello Kitty crochet bow and facial features.